This article explains how to edit existing DNS TXT records through your Ecenica DNS using cPanel.
Steps to Edit a TXT DNS record in cPanel
- Log in to cPanel.
- For help accessing your cPanel see Where do I log in to my hosting control panel.
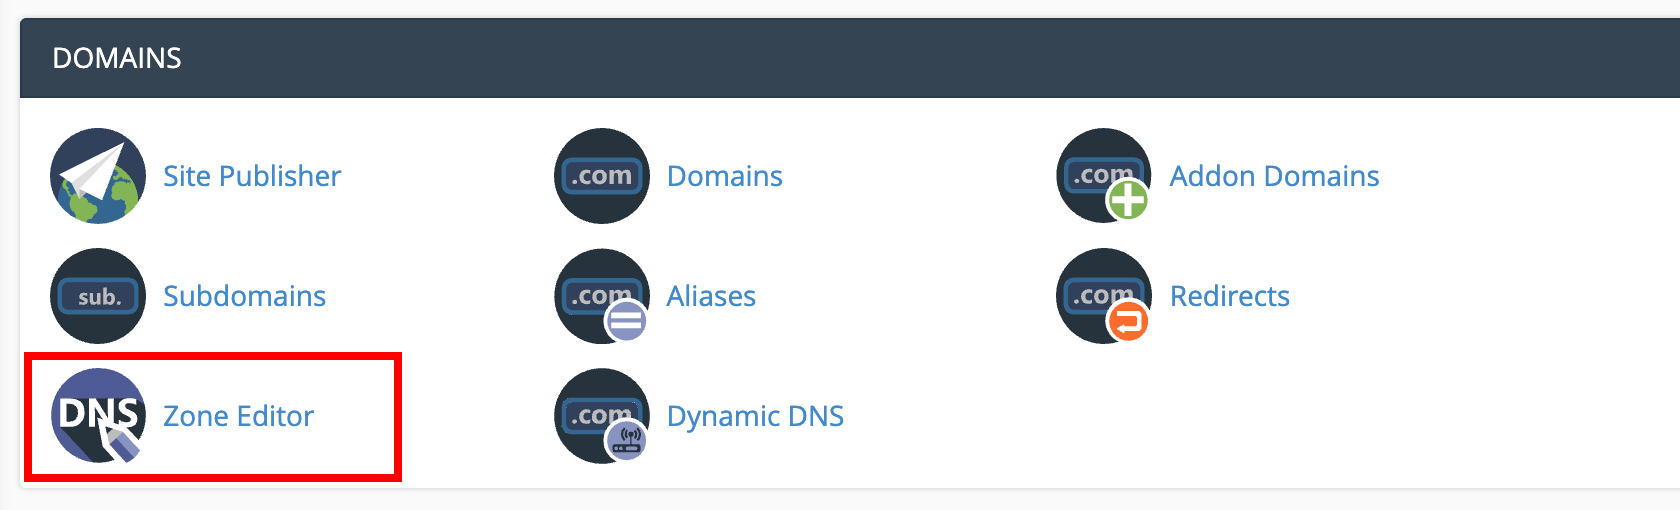
- Click Zone Editor
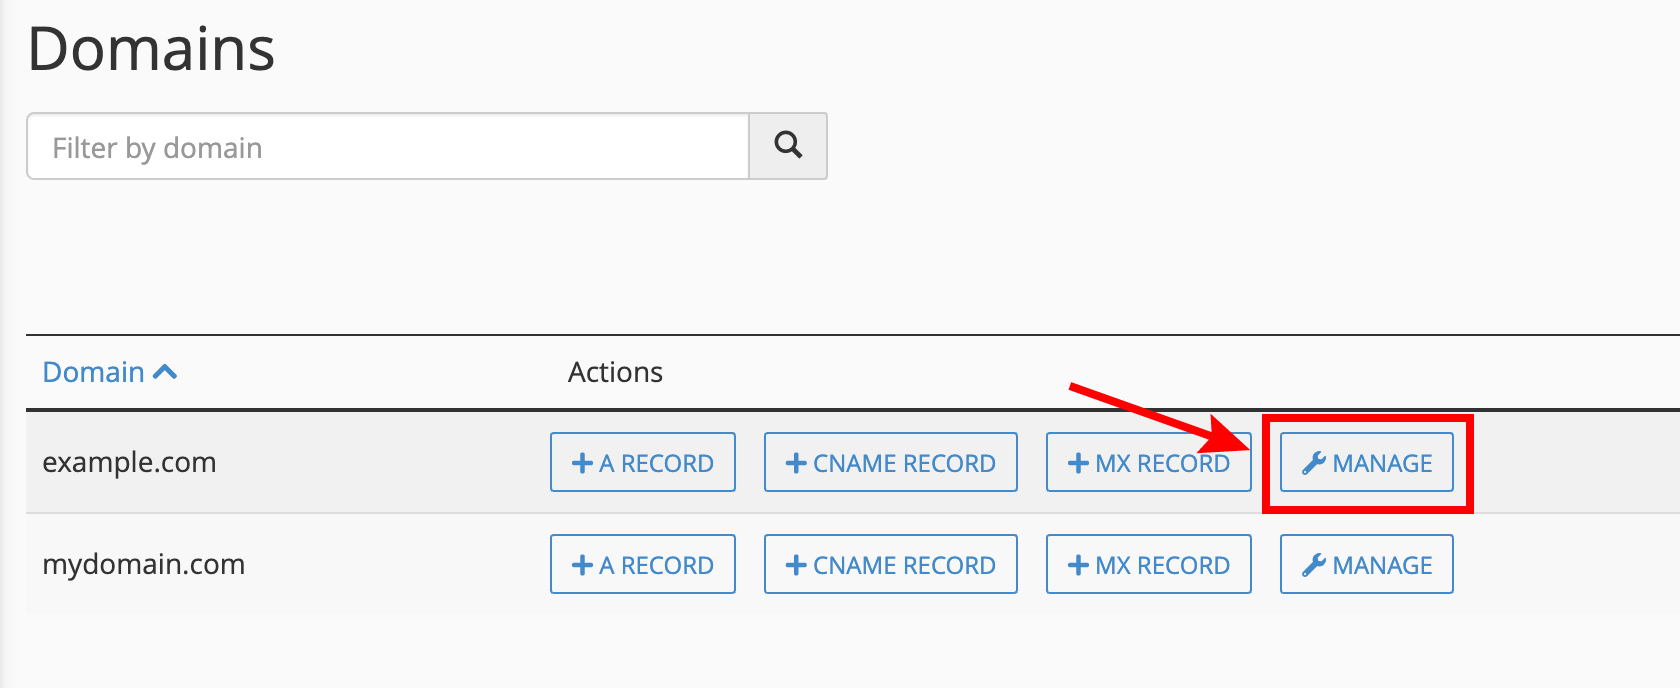
- Click Manage for the domain you wish to edit.
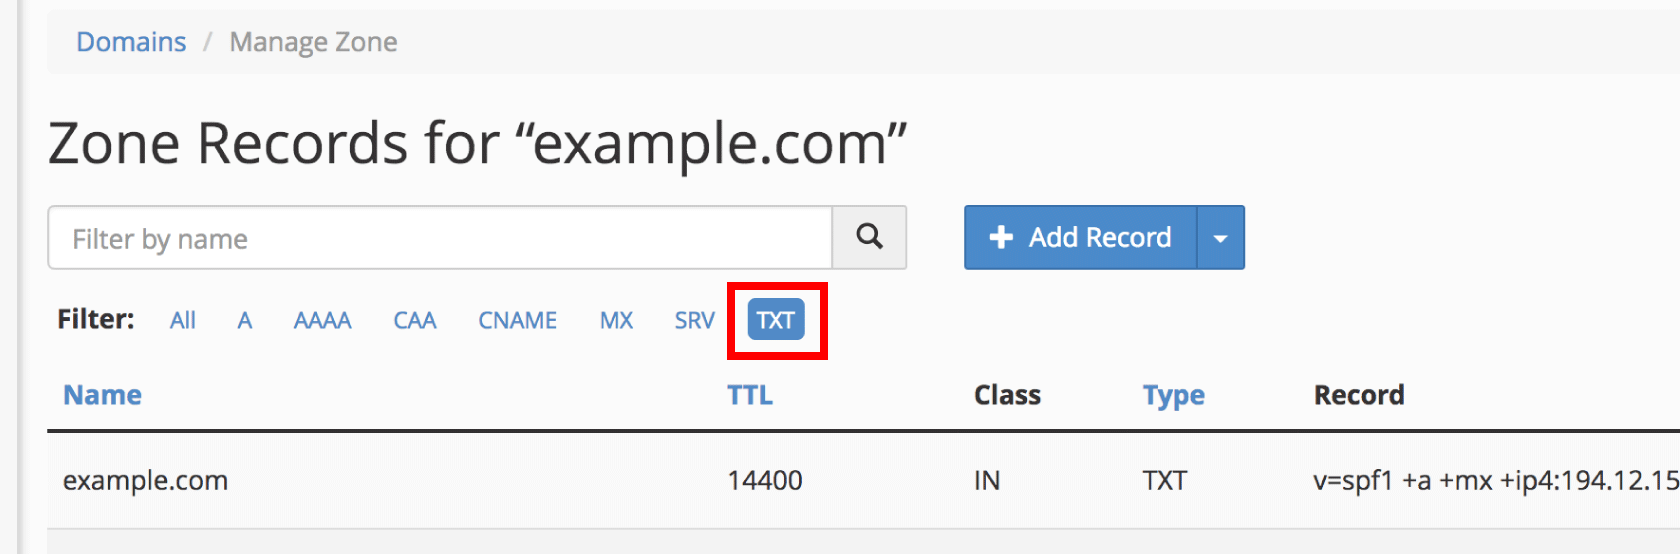
- Select TXT from the Filter to only show your domain’s TXT records
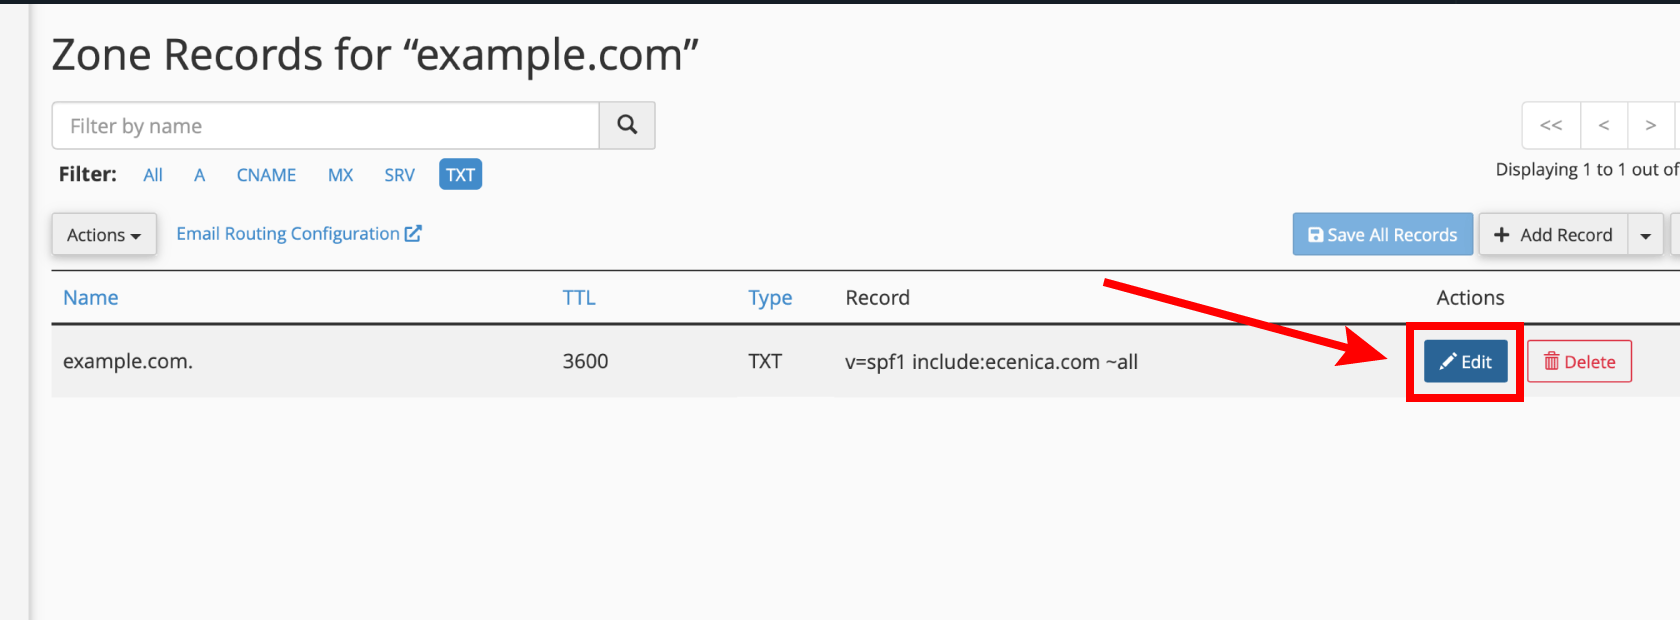
- Click Edit next to the TXT record you want to edit.
- Update the fields as you require:
- Name: Enter the TXT record name. For example, enter yourdomain.com.
- TTL: 3600
- Type: TXT
- Record: Enter your new TXT record. For example, “v=spf1 include:ecenica.com include:other.com ~all”

- Click Save Record.
Your domain name will be instantly updated with your DNS TXT record changes. However, please allow 48 hours for your DNS change to propagate worldwide and DNS caches to clear.
