This article explains how to edit DNS host records for your Ecenica DNS using cPanel.
Edit an A Record in cPanel
- Log in to cPanel.
- For help accessing your cPanel see Where do I log in to my hosting control panel
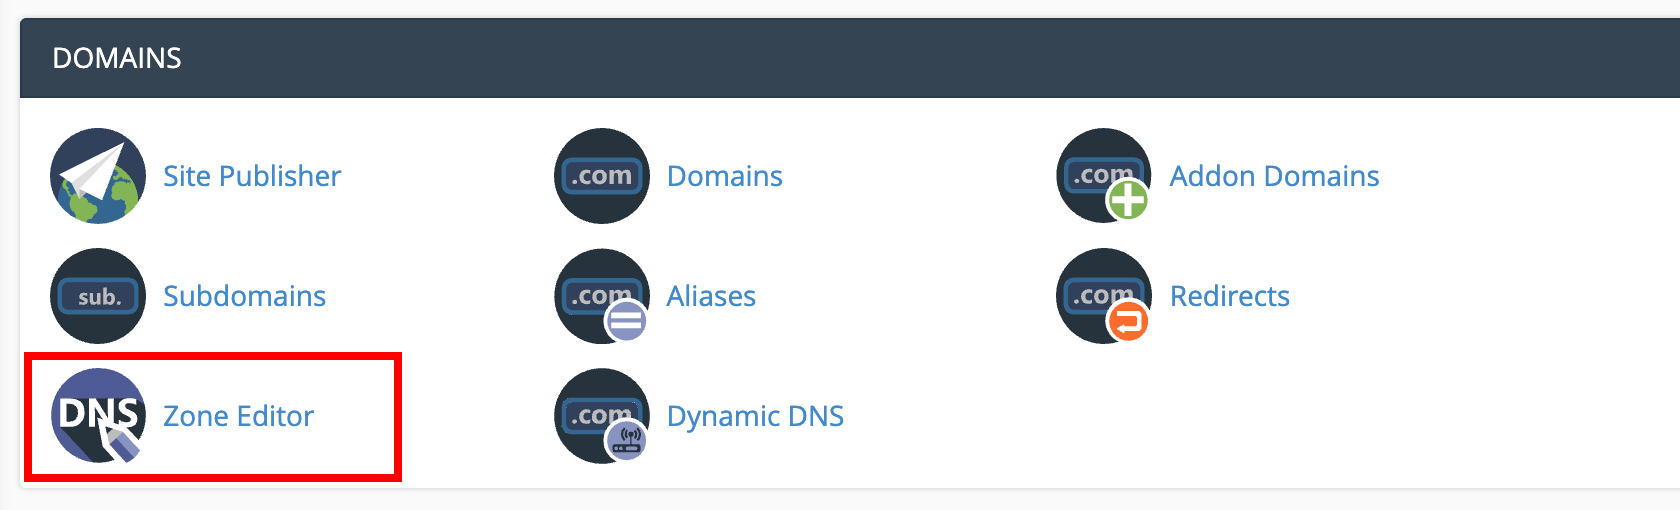
- Click Zone Editor.
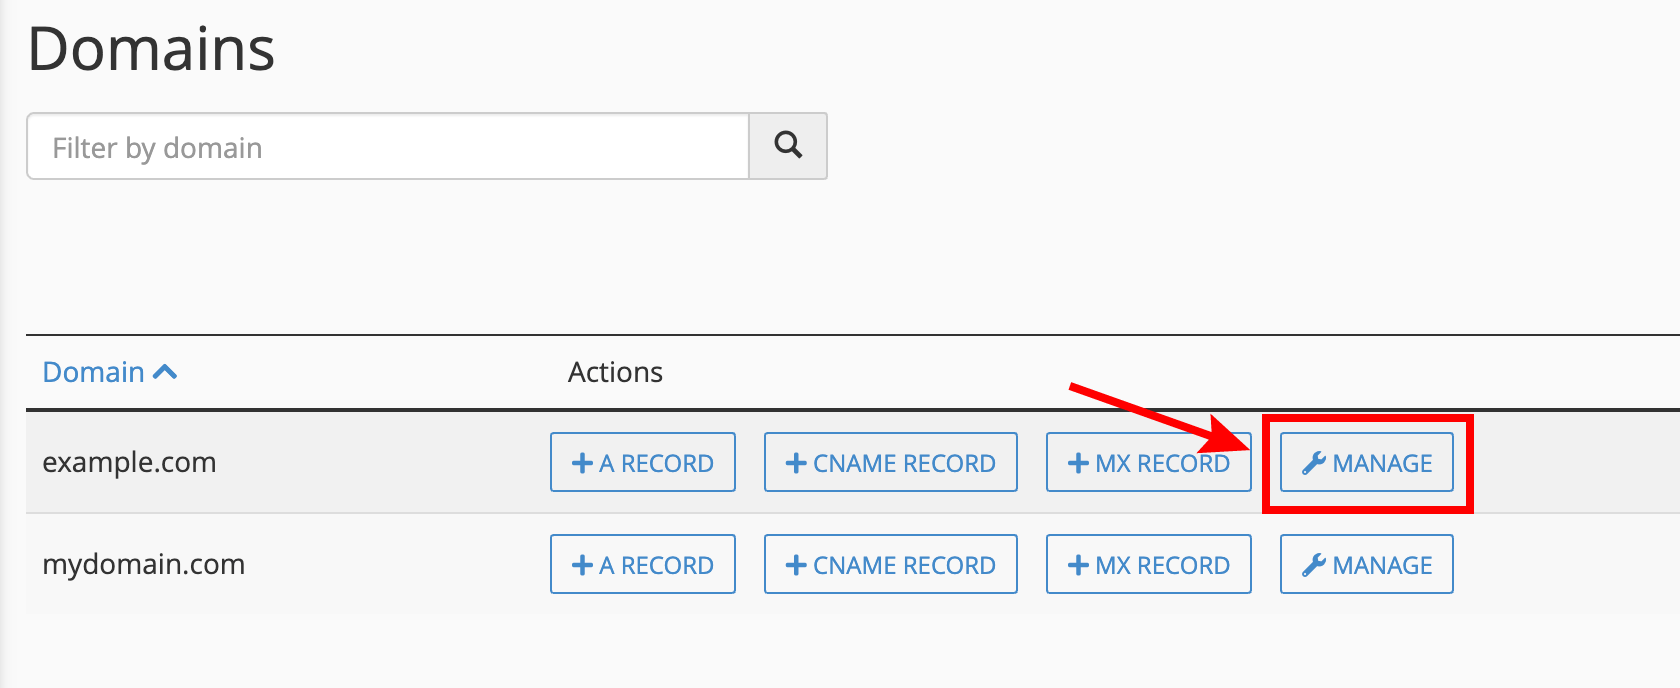
- Click Manage for your domain.
- Select A from the Filter to only show your domain’s A records.

- Click Edit next to the existing DNS A record you wish to edit.

- Enter the new IP in the Record field. Click Save Record to save your changes

Your domain name will be updated with your new A record instantly. However it may take 24-48 hours for the changes to fully propagate worldwide and ISP DNS caches to update.
